
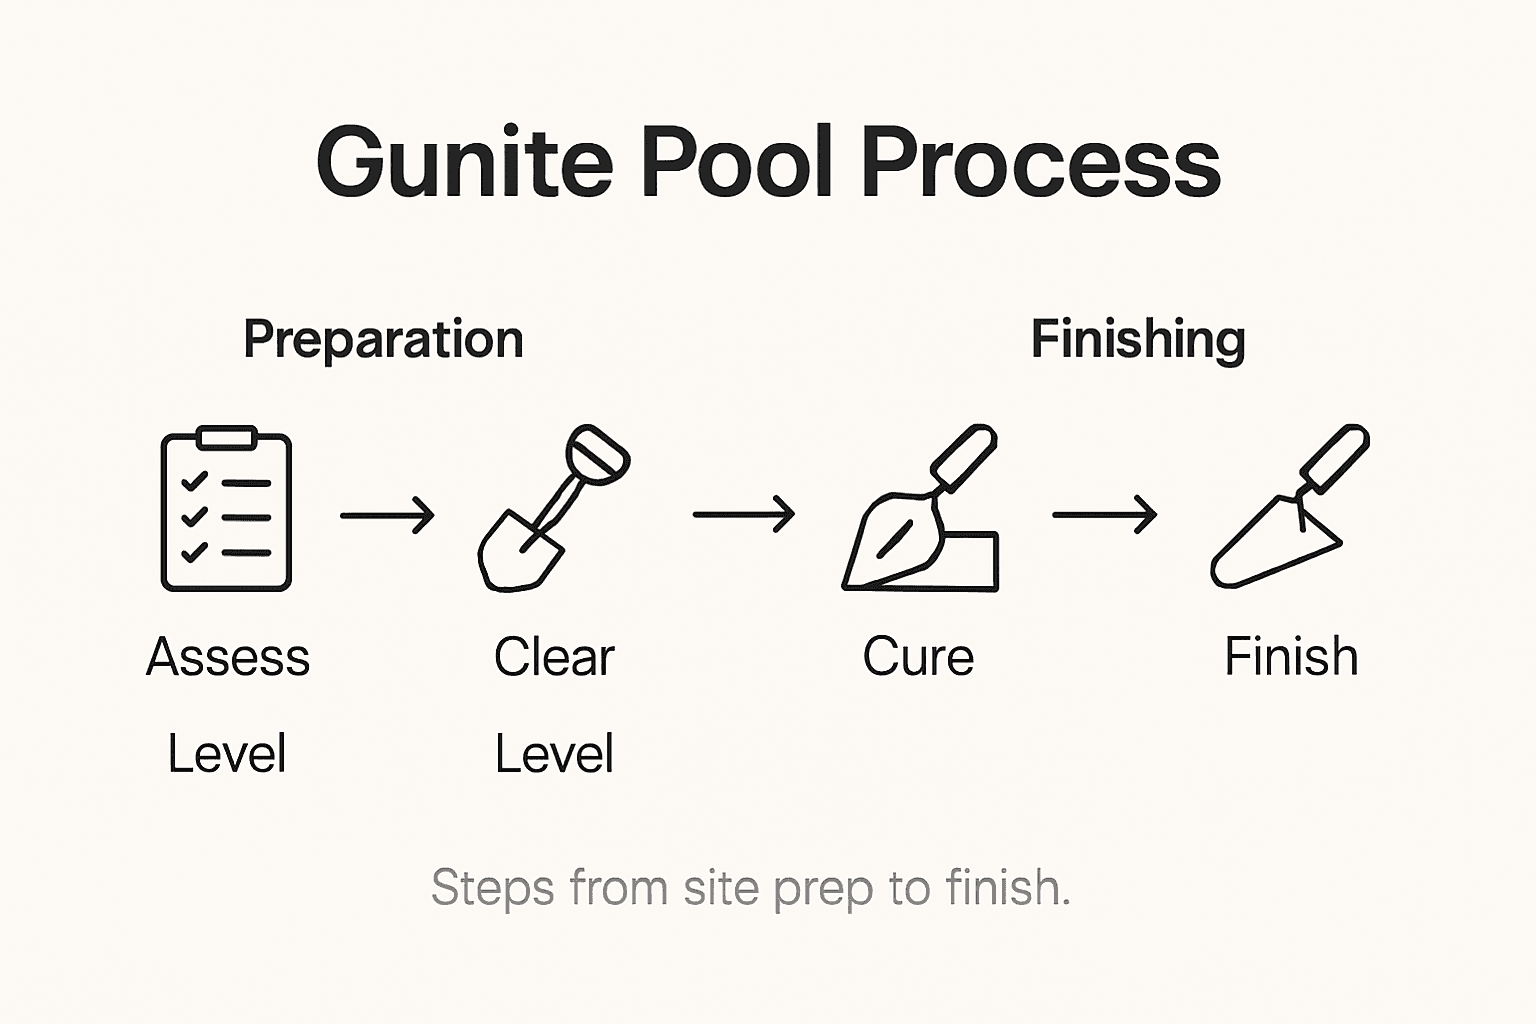
Most American luxury pool projects in Montgomery County, TX start with a thorough backyard evaluation, yet nearly 40 percent of homeowners overlook this critical phase before installation. Setting the right foundation affects every aspect of your new oasis, from stunning custom shapes to integrated outdoor living amenities. Discover how a step-by-step approach—from site prep to finishing touches—can maximize beauty, safety, and long-term enjoyment in your outdoor retreat.
Table of Contents
- Step 1: Evaluate Site and Prepare Backyard
- Step 2: Design Layout and Excavate Area
- Step 3: Install Rebar Framework and Plumbing
- Step 4: Apply Gunite and Shape Pool Shell
- Step 5: Cure, Inspect, and Finish Pool Surface
Quick Summary
| Key Message | Explanation |
|---|---|
| 1. Conduct a detailed site assessment | Analyze topography, soil stability, and drainage to ensure optimal pool placement and foundation stability. |
| 2. Clear and level the pool area | Remove vegetation and debris while leveling the ground to provide a solid base for the pool structure. |
| 3. Ensure proper utility mapping | Contact local utility companies to mark underground lines, preventing hazards during excavation. |
| 4. Follow precise excavation plans | Mark pool perimeter accurately; ensure excavation is done carefully to maintain design specifications. |
| 5. Maintain moisture during curing | Control humidity and prevent direct sunlight to ensure proper curing of the gunite surface for durability. |
Step 1: Evaluate Site and Prepare Backyard
Evaluating and preparing your backyard represents the critical first phase of gunite pool installation. This essential step determines the foundation for your entire pool project, ensuring a smooth and successful construction process that maximizes your outdoor living space.
Begin by conducting a comprehensive site assessment that examines multiple key factors. You will need to analyze your backyard’s topography, understanding the existing landscape and site planning considerations that impact pool placement. Carefully assess ground conditions including soil stability, drainage patterns, and potential underground utility lines. Professional surveyors recommend measuring the available space precisely, accounting for required setbacks from property lines and identifying any potential obstacles such as trees, existing structures, or uneven terrain that could complicate installation.
Your site preparation will involve several important tasks. Clear the designated pool area of vegetation, removing grass, shrubs, and any debris that might interfere with construction. Level the ground using professional grading techniques to create a stable foundation. Address potential drainage challenges by ensuring proper water runoff paths that prevent future moisture related issues. Underground utility mapping becomes crucial at this stage contact local utility companies to mark electrical, water, and gas lines to avoid potential hazards during excavation.
Here is a summary of key preparatory tasks and their importance during the initial site assessment:
| Task | Purpose | Impact on Project |
|---|---|---|
| Topography analysis | Understand landscape features | Optimize pool placement |
| Utility mapping | Locate underground lines | Prevent construction hazards |
| Soil stability check | Confirm ground support | Ensure long-term structure |
| Vegetation clearing | Remove grass and debris | Enable safe construction |
| Drainage planning | Manage water flow | Avoid future pool issues |
Pro Tip: Invest in a professional land survey before beginning pool construction to identify potential underground challenges and prevent costly mistakes during the installation process.
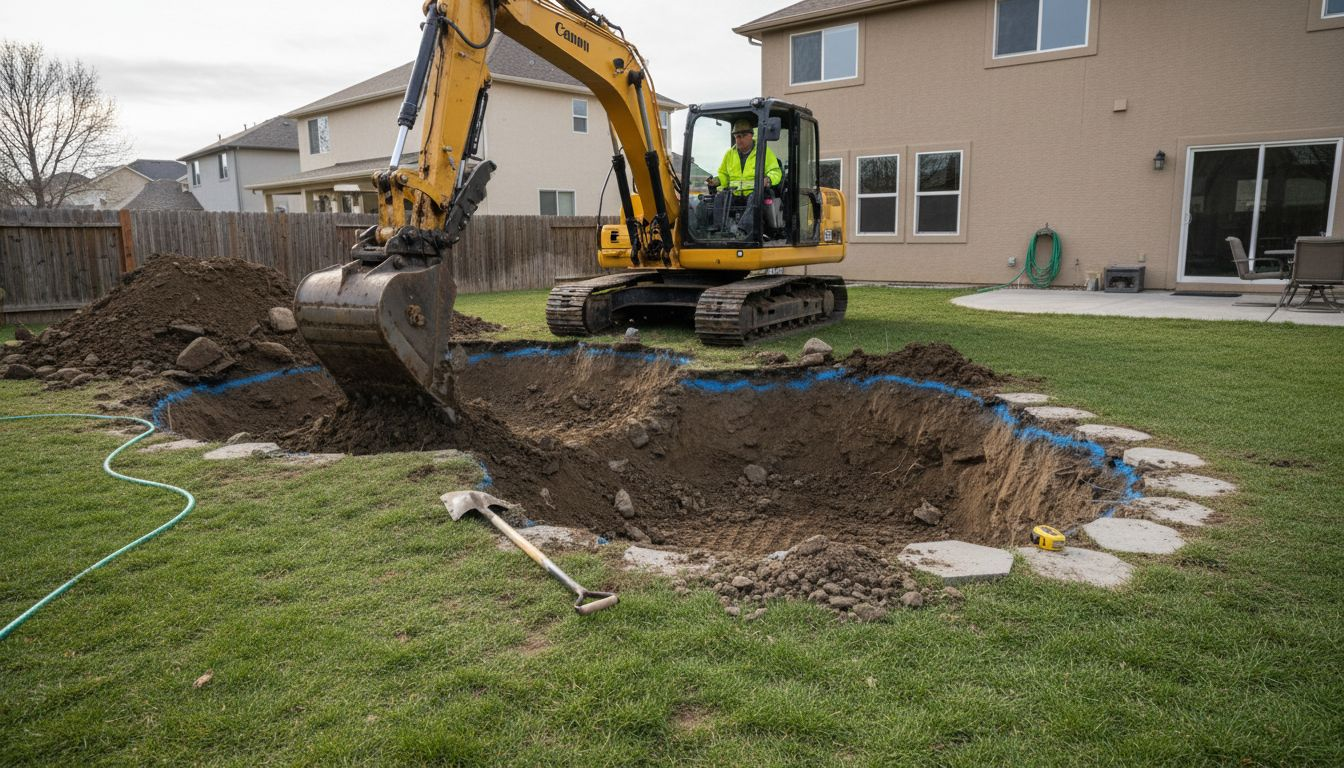
Step 2: Design Layout and Excavate Area
Designing the layout and excavating the area represent critical stages in transforming your backyard into a stunning gunite pool environment. These precision steps establish the physical foundation for your swimming pool and determine its ultimate functionality and aesthetic appeal.
Begin by creating a detailed pool design that considers your backyard’s unique dimensions and characteristics. Professional pool designers recommend developing precise excavation plans that account for structural stability and potential soil challenges. During the layout phase, carefully mark the pool perimeter using stakes and bright marking paint to visualize the exact footprint. Consider factors like sun exposure, wind patterns, privacy, and proximity to existing landscaping features. Measure multiple times to ensure accuracy and verify that your planned pool fits comfortably within your property lines and meets local zoning regulations.
The excavation process requires specialized heavy machinery and professional expertise. Skilled operators will use excavators to carefully remove soil to the precise depths specified in your engineered design. This phase involves removing earth in strategic layers while maintaining the engineered slopes and contours required for your pool shell. Experienced contractors will continuously check depth measurements and maintain the proper grade to ensure a level and stable foundation. Underground utility lines must be carefully avoided during excavation temporary markings from utility companies will guide the process and prevent potential damage.
Pro Tip: Request multiple elevation measurements during excavation to confirm that your pool base remains perfectly level throughout the digging process.
Step 3: Install Rebar Framework and Plumbing
Installing the rebar framework and plumbing represents a crucial structural phase in your gunite pool construction. These foundational elements will provide the critical reinforcement and infrastructure necessary for a durable and functional swimming pool that will serve your family for years to come.
Begin by meticulously laying out the steel reinforcement framework according to precise engineering specifications. Experienced pool contractors will carefully position steel rebar in a grid pattern that provides maximum structural integrity throughout the pool shell. The rebar must be tied securely at intersection points using specialized wire ties ensuring that the framework maintains its precise shape and position. Pay close attention to areas that will experience higher stress such as pool walls and floor transitions. The rebar grid serves as the skeleton that will support the gunite concrete and prevent cracking or structural failure over time.
Simultaneously with rebar installation plumbing lines for water circulation drainage and filtration must be strategically positioned. Skilled technicians will carefully route pipes to ensure optimal water flow and equipment functionality. This includes installing main drain lines skimmer connections return jet lines and any additional specialty plumbing features like spa jets or water features. Each plumbing connection must be meticulously pressure tested to verify leak free performance before the gunite application. Electrical conduits for pool lights and other electrical components are also carefully positioned during this critical phase to ensure they are fully integrated into the pool structure.
Pro Tip: Request a detailed plumbing schematic from your contractor to understand the exact routing of pipes and ensure all your desired water features are properly accommodated.
Step 4: Apply Gunite and Shape Pool Shell
Applying gunite and shaping the pool shell represents the transformative moment when your backyard swimming pool begins to take its final form. This critical phase turns the intricate rebar framework into a solid structural masterpiece that will define your outdoor living space.
The gunite application process requires extraordinary skill and precision. Skilled operators use specialized cement guns to pneumatically spray the dry concrete mixture, combining dry cement with water at the nozzle to create a dense and powerful shell. The experienced technicians carefully control the spray angle and distance to achieve uniform coverage and optimal thickness across the entire pool structure. As the gunite is applied technicians simultaneously shape the pool surface creating smooth contours and precise edges that match the original design specifications. The pneumatic spraying technique compacts the material with significant force ensuring a strong waterproof finish with exceptional structural integrity.
Once the initial gunite application is complete pool contractors will carefully inspect and refine the surface to ensure absolute perfection. This involves smoothing out any irregular areas checking wall and floor thickness and verifying that all design elements align with the original architectural plans. The gunite must be allowed to cure and set properly which typically requires several days of controlled moisture and temperature conditions. During this curing period the pool shell develops its maximum compressive strength becoming a robust and durable foundation for your swimming environment.
Pro Tip: Request periodic progress photographs during the gunite application to track the transformation and ensure the pool matches your exact design vision.
Step 5: Cure, Inspect, and Finish Pool Surface
The curing, inspection, and finishing stage represents the critical final transformation of your gunite pool from a raw concrete structure to a polished swimming environment. This phase ensures the long term durability and aesthetic appeal of your backyard investment.
Pool surface curing requires meticulous environmental management to prevent structural cracking and ensure optimal concrete strength. Contractors will maintain precise moisture levels by consistently misting the gunite surface and protecting it from direct sunlight and extreme temperatures. This process typically spans 7 to 10 days during which the concrete develops its maximum structural integrity. Professional teams use specialized techniques to control humidity and temperature ensuring that the pool shell sets evenly without developing microscopic fissures that could compromise its long term performance.
Following the curing period comprehensive inspections are conducted to verify the pool shell meets all structural and safety requirements. Technicians carefully examine the entire surface for potential imperfections checking wall thickness plumbing connections and overall structural alignment. The finishing process involves applying a final protective layer such as plaster or aggregate finishes that not only enhance the pools visual appeal but also provide a smooth waterproof surface. This final layer seals the gunite shell creating a watertight barrier and establishing the pools final color and texture.
Pro Tip: Request a detailed written inspection report from your pool contractor documenting the curing process and final surface conditions to ensure complete transparency and quality assurance.
The following table summarizes the main phases of gunite pool installation and their core objectives:
| Phase | Core Objective | Key Considerations |
|---|---|---|
| Site Prep | Establish a solid foundation | Stability, utilities, drainage |
| Layout & Excavation | Shape pool footprint | Accurate marking, safety |
| Rebar & Plumbing | Reinforce structure and enable circulation | Placement, leak testing |
| Gunite Application | Create durable, waterproof shell | Proper thickness, surface finish |
| Curing & Finishing | Achieve lasting strength and appearance | Moisture control, surface coating |
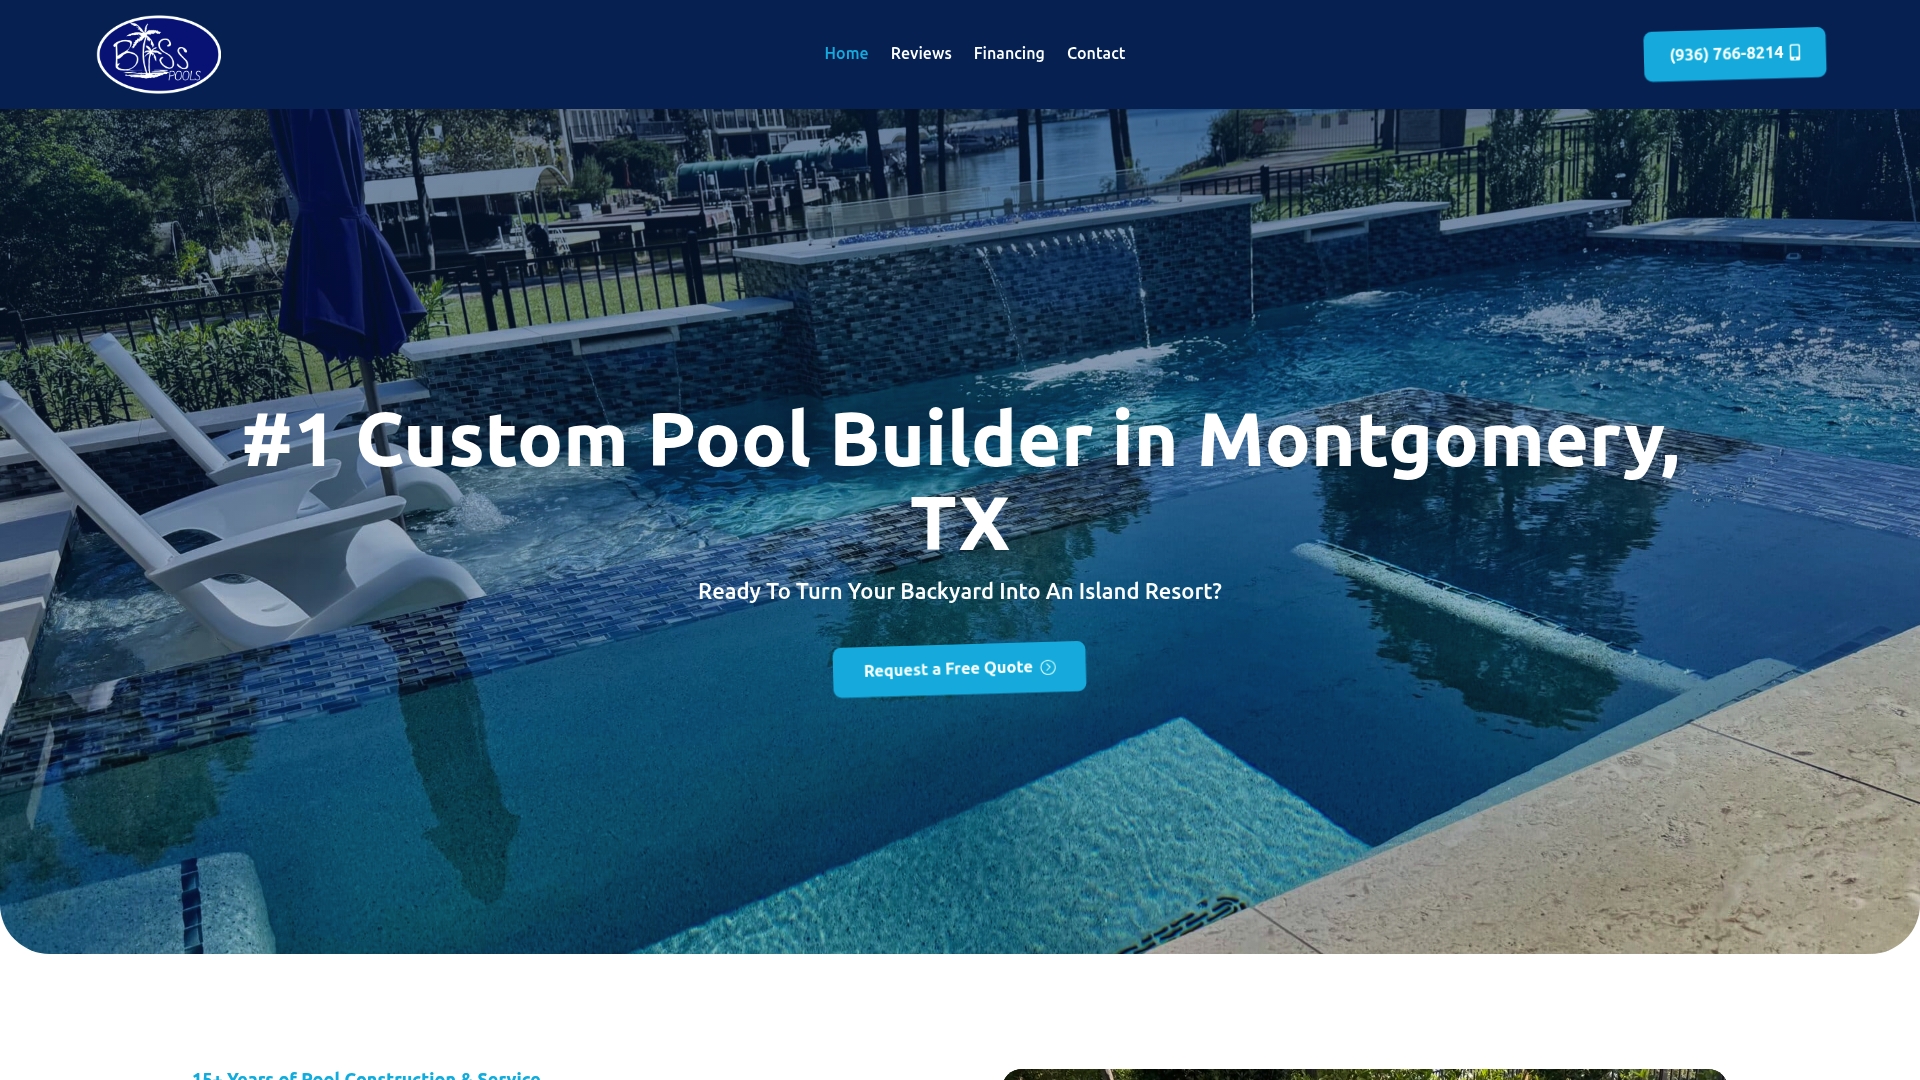
Take the Next Step in Your Gunite Pool Journey with Bliss Pools
Building a durable and beautiful gunite pool requires expert planning and flawless execution from site evaluation to the final surface finish. If you want to avoid common pitfalls like unstable foundations, inaccurate excavation, or plumbing errors that can compromise your pool’s longevity Bliss Pools offers over 15 years of experience creating custom pools tailored specifically for homeowners in Montgomery County, TX, and nearby areas. We understand the critical role of precise rebar installation, careful curing, and quality craftsmanship to give you a stunning backyard retreat.
Ready to transform your outdoor space into a resort-style oasis with expert gunite pool installation and premium outdoor amenities? Visit Bliss Pools to explore our custom pool construction solutions. Discover how our customer-focused approach and attention to every detail from site prep to finishing touches can give you peace of mind and lasting satisfaction. Contact us today for a free estimate or to discuss your dream pool project and make the perfect splash this year.
Frequently Asked Questions
What are the key steps in the gunite pool installation process?
The gunite pool installation process includes evaluating the site, designing the layout, excavating the area, installing the rebar framework and plumbing, applying gunite, and curing and finishing the pool surface. Follow these steps carefully to ensure a successful pool construction.
How do I prepare my backyard for gunite pool installation?
To prepare your backyard, assess the topography, clear vegetation, level the ground, and ensure proper drainage. Contact local utility companies to map underground lines, and create a stable foundation for your pool.
What should I consider during the design layout phase of the pool?
During the design layout phase, evaluate your backyard’s dimensions, mark the pool perimeter, and consider sun exposure, wind patterns, and existing landscaping. Aim to create a design that fits comfortably within your property lines and meets local zoning regulations.
How is the gunite applied to the pool shell?
Gunite is applied by skilled operators using a cement gun to pneumatically spray the mixture over the rebar framework. Ensure the materials are properly compacted for optimal strength and smoothness that matches your design specifications.
What steps are involved in curing the gunite pool shell?
Curing involves maintaining proper moisture levels and temperature conditions for about 7 to 10 days. Regularly mist the surface to prevent cracks and allow the concrete to develop maximum strength before proceeding with finishes.
Why is utility mapping important in the installation process?
Utility mapping is essential to locate underground lines for electricity, water, and gas, which helps prevent construction hazards during excavation. Contact utility companies to avoid damaging these lines and ensure a safer installation process.